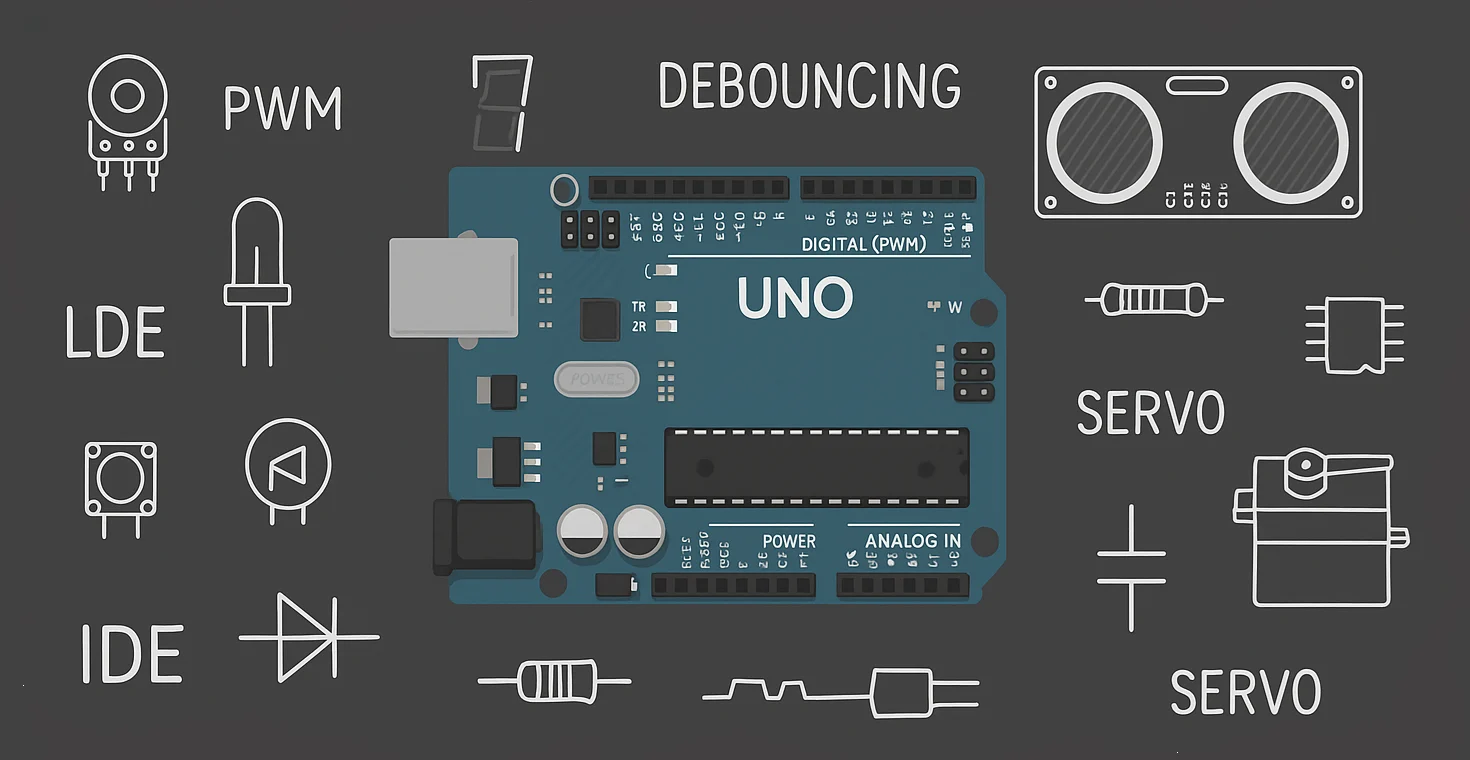
Chapter 7
In the previous chapter, you used a button as a digital input.
You may have noticed something strange:
You press the button once
Arduino reacts multiple times
If you didn't notice that, it means you didn't do the hardware.
I know you, I will come for you! 😡
Okay jokes aside —
This is not a coding mistake.
This is real-world physics.
Welcome to debouncing.
🔘 What Is Button Bounce?
A push button is a mechanical device.
Inside it:
metal contacts physically touch
they do not make a clean connection instantly
When you press a button, the contacts:
hit
separate
hit again
vibrate slightly

All of this happens in a few milliseconds.
To Arduino, those tiny vibrations look like:
Even though you pressed it once.
🧠 What Arduino Sees vs What You Do
You see:
- one clean press
Arduino sees:
multiple HIGH/LOW transitions
very fast changes
electrical noise
Arduino is fast.
Buttons are slow and messy.
That mismatch causes the problem.
That’s why:
counters jump by 2 or 3
toggles behave randomly
menus skip options
🛠️ Software Debouncing
The easiest fix is to wait a little after detecting a button press.
const int buttonPin = 2;

void setup() {
  pinMode(buttonPin, INPUT_PULLUP);
}

void loop() {
  if (digitalRead(buttonPin) == LOW) {
    delay(50); // debounce delay

    if (digitalRead(buttonPin) == LOW) {
      // valid button press
    }
  }
}
The delay gives the button time to settle.
50 ms is usually enough.
Upload this and give it a try! Comment down if that worked!! The circuit will be the same one we used in Chapter 6.
🔄 Why This Works
The first LOW detects a possible press
The delay lets bouncing finish
The second read confirms the press
You’re basically asking:
⚡ Hardware Debouncing (Concept Only)
In real circuits, debouncing can also be done using:
resistors
capacitors
Schmitt triggers
We won’t go into that yet.
For now:
🧰 Common Beginner Mistakes
Assuming bounce is a bug
Increasing delay too much
Blocking the entire program unnecessarily
Trying to fix bounce with random code changes
Bounce is expected behavior, not failure.
Digital logic is clean only after we tame reality.
Every sensor, switch, and signal you’ll use later has noise.
Debouncing is your first lesson in signal conditioning.
📌 What Comes Next
Now that we’ve handled clean digital input, we’re ready to move to something new:
👉 Analog Input — Reading Sensors with analogRead()
This is where Arduino stops seeing only HIGH and LOW
and starts seeing levels.
Next post coming soon!