
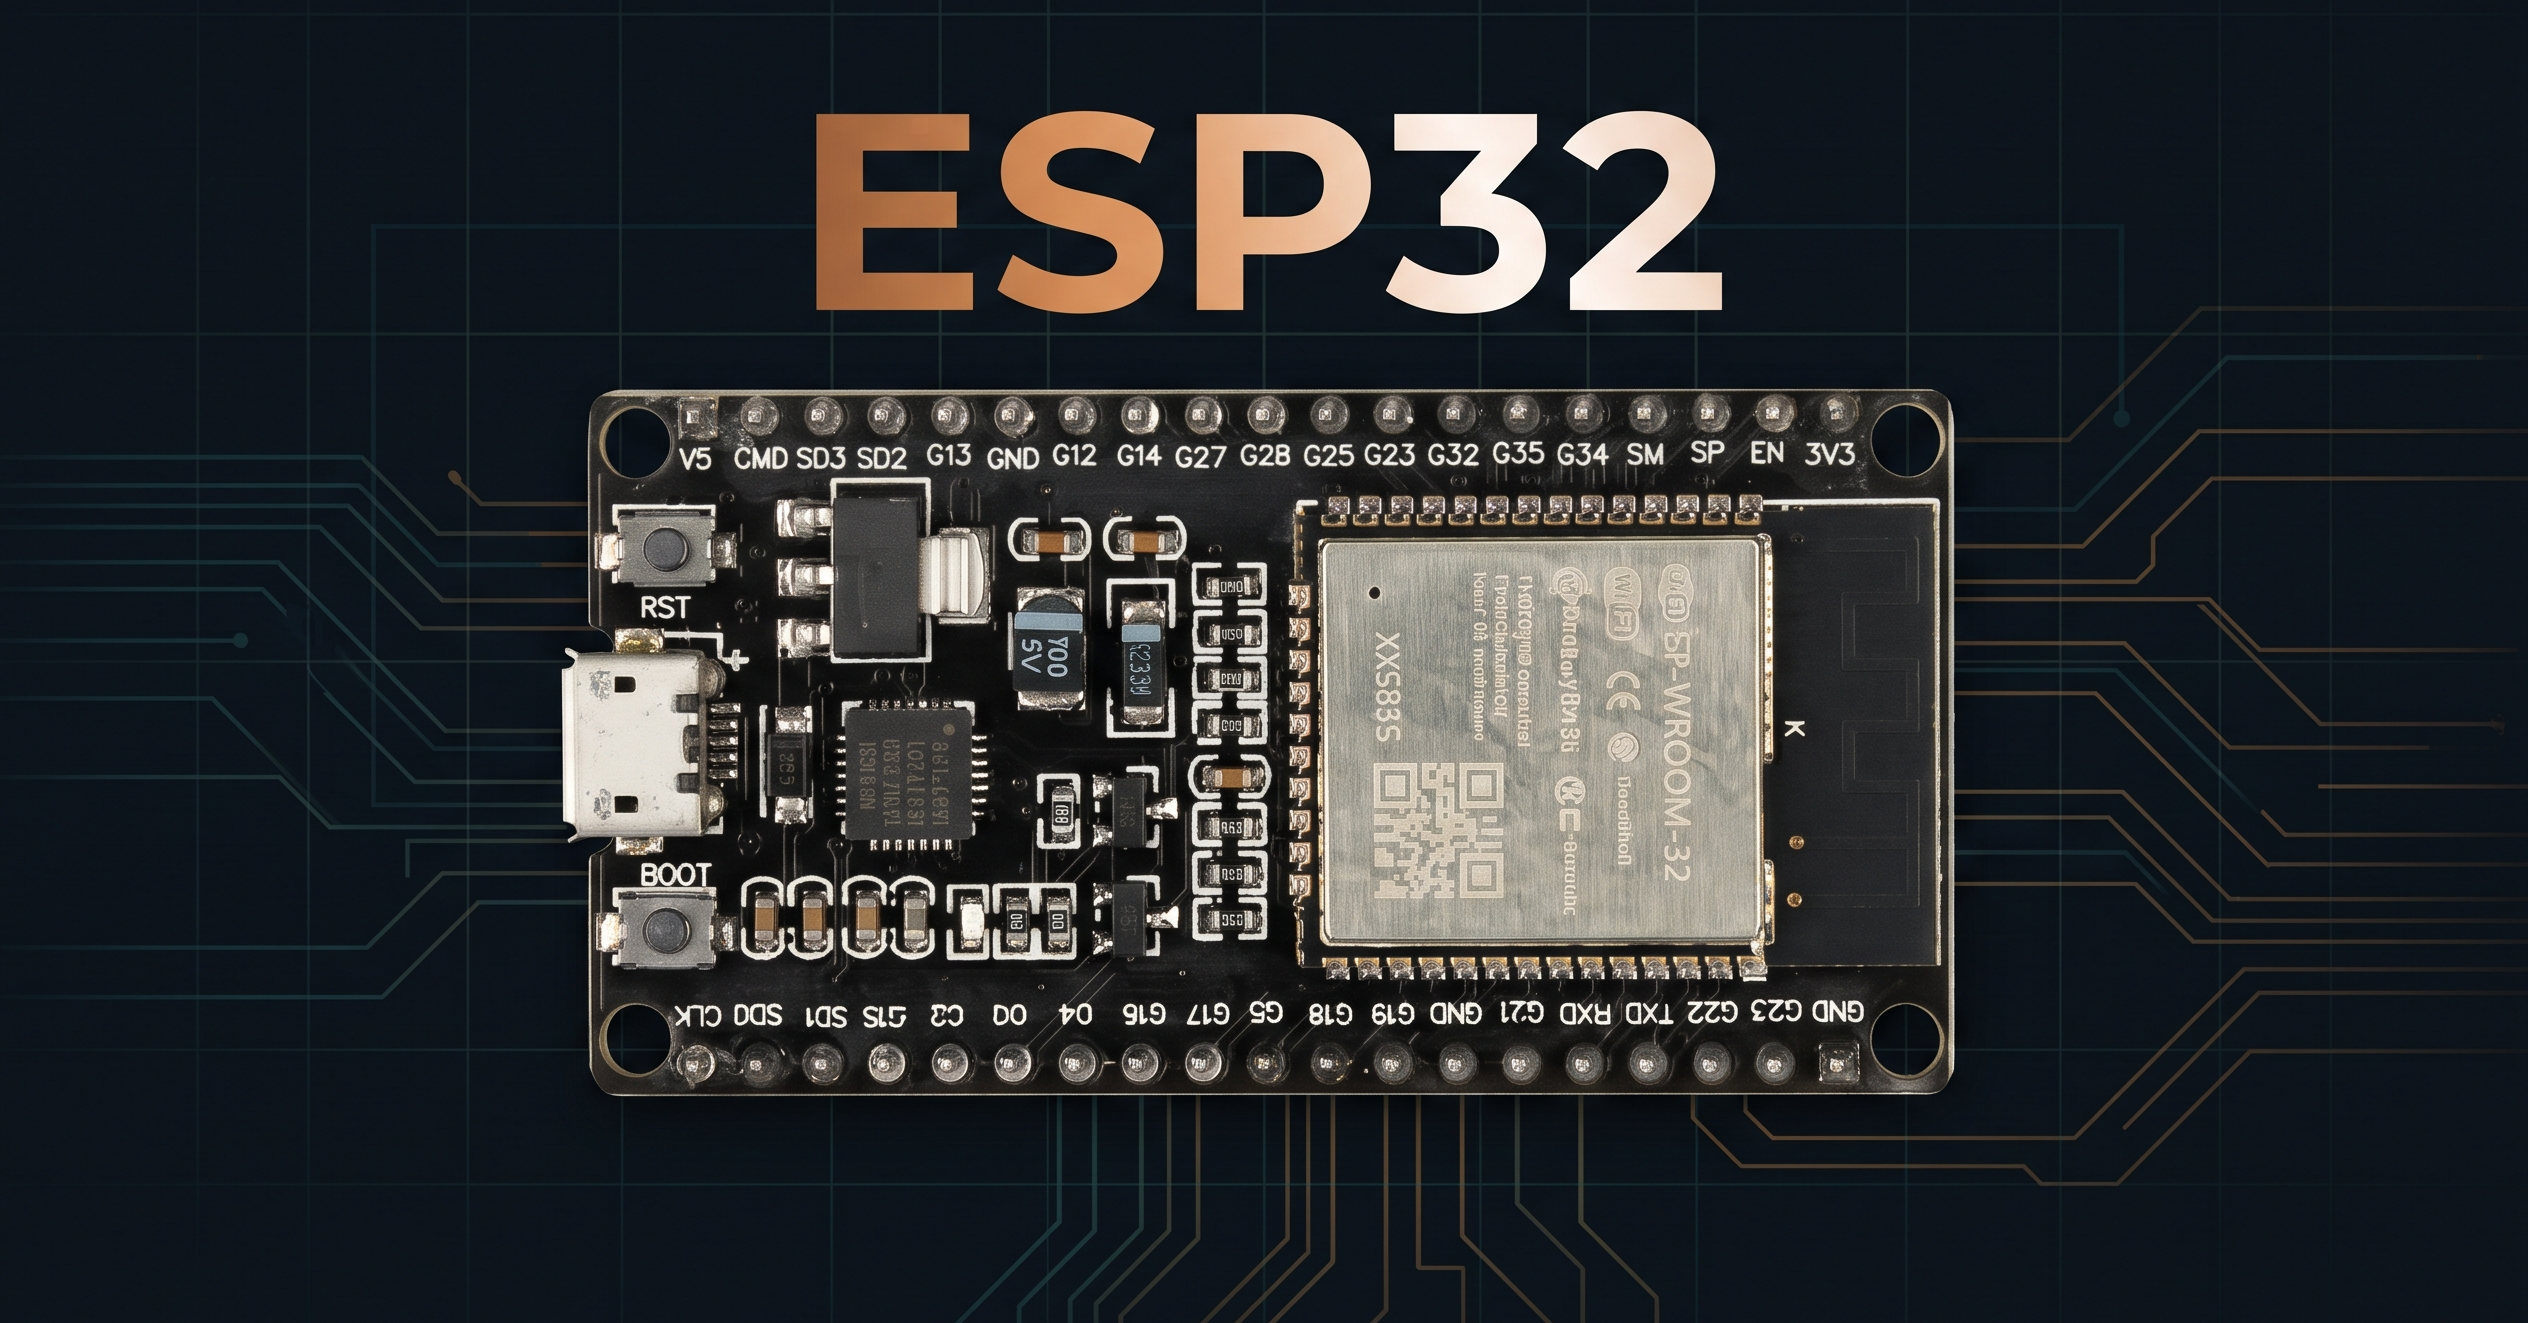
A Small Change in How We’ll Learn ESP32
When I first planned this ESP32 series, I imagined a straightforward progression: understand the board, learn its pins, write a few programs, and gradually build projects.
That structure made sense, but as I started working through the material, I realised something was missing.
I didn’t want this series to become another collection of tutorials where we learn one function, copy a few lines of code, and move on to the next topic. I wanted us to understand what the ESP32 actually offers, how its internal features work, and how we can use them to build something meaningful.
So, we’re making a small change to the way we’ll approach this series.
One article, one central capability
Each article will have one main subject — a particular capability or subsystem of the ESP32.
It could be Wi-Fi, Bluetooth, hardware timers, multitasking, low-power operation, or one of the many peripherals built into the chip.
We’ll explore that subject in depth: how it works, what configurations and operating modes are available, how to use it in code, and where its limitations or trade-offs appear.
The goal isn’t just to learn which function to call. It’s to understand the feature well enough to know when and why to use it.
From understanding to application
Once we’ve explored the central capability, we’ll put it to work.
The second half of each article will focus on a practical application or project that uses what we’ve just learned.
Of course, a real project rarely depends on just one feature. A Wi-Fi project might also involve GPIO, buttons, timers, or sensor readings. A wireless controller might require PWM and input handling.
We’ll introduce these supporting concepts when they’re needed, but we won’t turn every article into a complete lesson on them. Where appropriate, we’ll provide links to the relevant articles in our Arduino series, so you can revisit the fundamentals without interrupting the flow.
This way, the main focus stays on understanding the ESP32’s capabilities while still showing how different parts of an embedded system work together.
Exploring what makes the ESP32 interesting
The ESP32 is much more than a microcontroller with a few GPIO pins.
Depending on the variant, it offers wireless connectivity, high-speed processing, multiple cores, hardware timers, dedicated peripherals, power-management features, and several communication interfaces.
These capabilities open up possibilities that go well beyond basic input and output experiments.
We’ll explore them gradually, with each topic building on what we’ve learned before. We’ll also distinguish between ESP32 variants wherever hardware differences matter, rather than assuming every ESP32 board supports the same features.
And, of course, we’ll keep building
The practical side of this series isn’t going anywhere.
We’ll continue working on projects, experimenting with hardware, writing code, debugging problems, and occasionally breaking things along the way.
Some projects will be small demonstrations of a particular feature. Others will combine multiple capabilities into something more complete.
We’ll also keep the interactive simulations wherever they make sense, so you can experiment with the concepts directly rather than only reading about them.
What changes from here?
The first three articles establish our foundation:
- Understanding the ESP32 and its capabilities.
- Exploring the pinout and available peripherals.
- Setting up VS Code and PlatformIO.
From here, we’ll move into the ESP32’s individual capabilities and gradually put them to use in practical projects.
The idea is simple: understand the hardware, explore its capabilities, and then build with them.
I want this series to be more than a set of instructions that gets you from one working project to another. I want you to come away understanding the system behind the project — and eventually feel confident enough to design your own.
Let’s get building.
Comments
Share your thoughts, questions, or corrections below. Be kind and keep it on-topic ✨